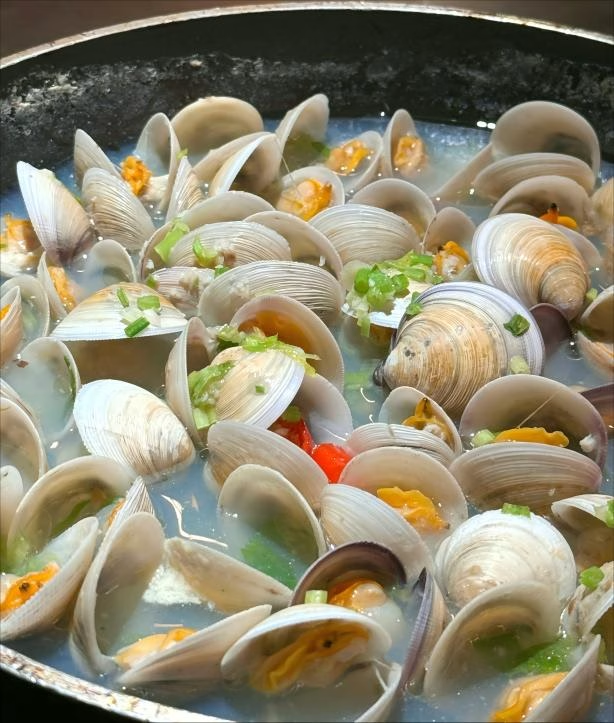
Clams are rich in nutrients, including uridine, which helps relieve fatigue. To make clams more delicious after cooking, they also increase the amount of uridine. It’s recommended to freeze the clams before cooking. Next, we’ll share how to freeze clams.
Method 1 for Freezing Clams
Instructions
Step 1: Clean the clams thoroughly.
Step 2: Let the clams spit out the grit. (It’s important to spit out the grit thoroughly because freezing clams kills them and prevents them from spitting out the grit.)
Step 3: Dry the clams slightly and place them in a freezer-safe ziplock bag. Remove as much air as possible from the bag, seal the bag, and store in the freezer. The shelf life is approximately one month.
To prepare the frozen clams later, use them directly without thawing or defrosting. This will make the shells easier to open.
Method 2 for Freezing Clams (For Soup)
If you’re going to use the frozen clams for soup, it’s recommended to freeze them with water. The steps are as follows.
Instructions
Step 1: Clean the clams thoroughly and let them spit out the grit.
Step 2: Place the clams in a freezer-safe container and add enough water to cover them.
Step 3: Cover the container and freeze. To make soup, simply pour the entire shaved clam ice into a pot and heat until melted. Add the remaining ingredients and seasonings as desired and cook. The ice is then infused with the sweet, fresh flavor of the clams.


Leave a Reply